How to make Beeswax Candles
There are very few things that bring charm to a home like a jar full of fresh flowers or the glow from a burning beeswax candle. Today, I’m going to share how to make DIY beeswax jar candles so that you can have the sweet smell and yummy glow in your own home.
Jump to Recipe
We (ahem, I) tend to fill our home with beeswax candles every fall and winter. The soft yellow glow and sweet smell makes our early mornings and late evenings extra cozy.
These candles are also great to pull out during a summer thunderstorm, when the windows are open and the storm is rolling through.
To be honest, every day is a good day to light a beeswax jar candle. Making these candles cuts down on the cost of burning beeswax and it gives you the chance to put your hand to something, which is always a bonus!

Beeswax Candles
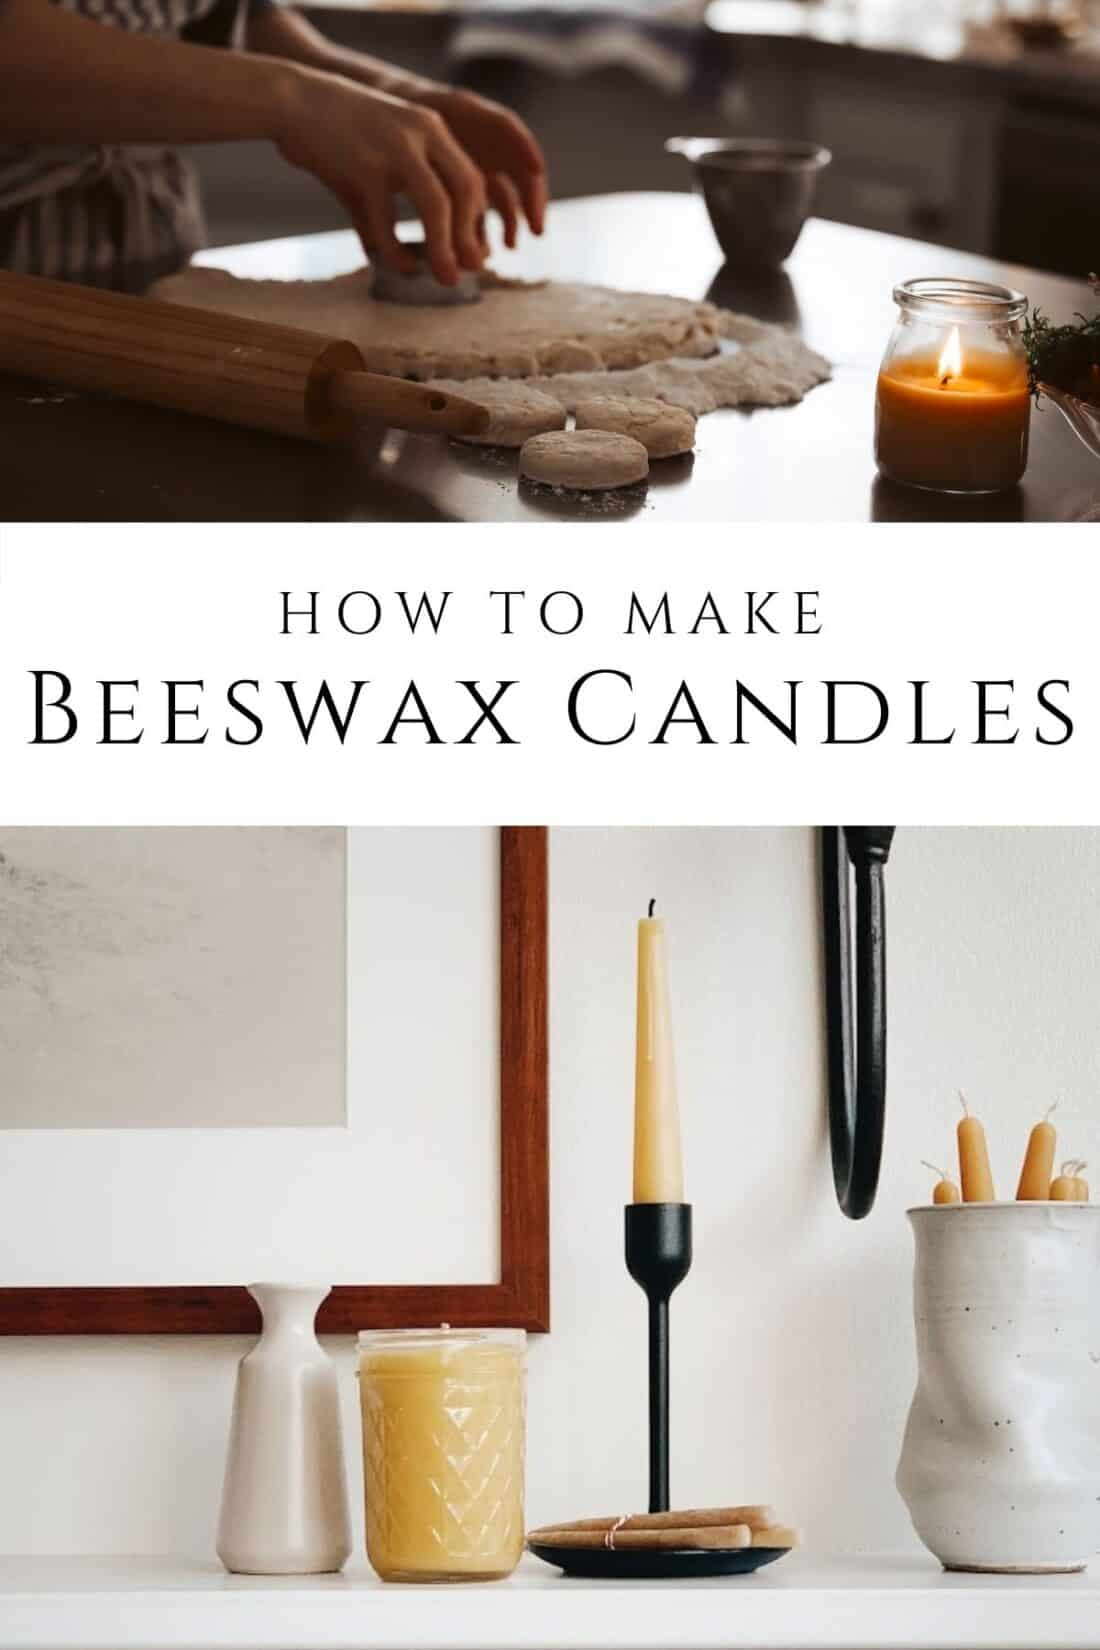
There are many types of beeswax candles. All of them serve different purposes and all of them are beautiful.
- Beeswax Tapers
- Beeswax Pillars
- Beeswax Tea Lights
- Beeswax Jar candles
Beeswax candles bring a cozy feel to a space more than any other candle. The soft, yellow glow and mellow honey scent are two of the things that they are most known for, but did you know that there are major benefits to burning beeswax candles?

Beeswax Candle Benefits
- Neutralizing Pollutants- Beeswax candles help to neutralize pollutants in the air by neutralizing ions. This simple benefit purifies the air in the space where the beeswax is burned.
- Elimination of Toxins– Conventional candles are full of toxins and artificial fragrances that fill the air when burned. Beeswax candles do the complete opposite of conventional candles. They clean the air, instead of adding toxins.
- Hypo-allergenic– Many people who are allergic to commercial candles can burn beeswax candles without any allergic reaction. This gives those people an option to enjoy the soft glow of a candle.
- Sootless– Beeswax candles burn clean, meaning you won’t have soot going up into your air.

Making Beeswax Candles
Making your own beeswax candles is very easy and a great beginner DIY project. You only need a few ingredients to create these beautiful jar candles.
- Beeswax Pellets
- Glass Jars (or some other vessel for your candle)
- Wicks with stickers
- Coconut oil
- Essential Oils (optional)

Homemade Beeswax Candles in 4 Easy Steps
- Attach wick sticker to the wick and place it in the bottom of your jar.
- Melt wax and coconut oil in a double broiler or crock pot
- Add essential oils (optional)
- Pour wax into glass jars, making sure the wick stays centered
Beeswax Candle Recipe
You only need a few basic ingredients for this recipe. The steps are simple and these candles will fill your home in only a few minutes.
- 1 pound beeswax pellets
- 1/2 cup coconut oil
- jars of your choice (this recipe will fill three 8 ounce jars)
- 1-2 tablespoons of essential oil
- Wicks
Beeswax Candles DIY Tips and Tricks
- How to clean beeswax out of a container– The best way to clean beeswax out of a bowl or jar is to heat the oven to 170°F and place the oven-safe dish inside. Turn the oven off and allow the beeswax to melt. Carefully pull out the hot dish and wipe it clean with a paper towel.
- Use pellets instead of a brick– It is much quicker to use beeswax pellets, instead of a beeswax brick. This makes the entire process easier.
- Don’t omit Coconut Oil– The coconut oil helps the candle to burn consistently and to not tunnel, which is a common issue with beeswax candles, so don’t omit the coconut oil.
- Avoid Sinking candles– Homemade candles tend to sink in the middle. To avoid this, try pouring your wax after it cools a bit, but before it is too hard to pour easily. This will allow the wax to “grab on to” the wick, thus eliminating the sinking.
- Leftover Wax– Don’t throw away your leftover wax. I have reheated and reused old candles. Prepare a jar for a candle. Heat up the burned candles/jar until they melt and pour the used wax in the clean jar. The wax might have some discoloration from being burned already, but the wax is still good and worth reusing!
Frequently Asked Questions
It is not recommended to replace the coconut oil with a room temperature, liquid oil because you want an oil that is a solid at room temperature.
Yes! You can put essential oils in beeswax candles, but be aware that beeswax doesn’t hold on to the scent of oils very well, so whatever oil you use will be faintly noticeable. Luckily, beeswax smells sweet on its own.
The best way to clean beeswax out of a bowl or jar is to heat the oven to 170°F and place the oven-safe dish inside. Turn the oven off and allow the beeswax to melt. Carefully pull out the hot dish and wipe it clean with a paper towel.
Pin for later
Other posts you’ll love
- DIY | Rolled Beeswax Candles
- Easy DIY | How to Make Dried Orange Ornaments
- Tips for a DIY Manicure At-Home
What you’ll need for this project

How to make a Beeswax Candle
Equipment
- double broiler
- jars
Materials
- 1 pound beeswax pellets
- 1/2 cup coconut oil
- 1-2 tablespoons essential oil, optional
- 3 8 ounce jars
- 3-6 cotton wicks and wick stickers
Instructions
- Attach wick sticker to the wick and place it in the bottom of your jar.
- Melt wax and coconut oil in a double broiler or crock pot
- Add essential oils (optional)
- Pour wax into glass jars, making sure the wick stays centered
Notes
- Use pellets instead of a brick– It is much quicker to use beeswax pellets, instead of a beeswax brick. This makes the entire process easier.
- Don’t omit Coconut Oil– The coconut oil helps the candle to burn consistently and to not tunnel, which is a common issue with beeswax candles, so don’t omit the coconut oil.
- Avoid Sinking candles– Homemade candles tend to sink in the middle. To avoid this, try pouring your wax after it cools a bit, but before it is too hard to pour easily. This will allow the wax to “grab on to” the wick, thus eliminating the sinking.
- Leftover Wax– Don’t throw away your leftover wax. I have reheated and reused old candles. Prepare a jar for a candle. Heat up the burned candles/jar until they melt and pour the used wax in the clean jar. The wax might have some discoloration from being burned already, but the wax is still good and worth reusing!
- Keep wicks straight– Use a wick stabilizer or clothespin to keep the wick straight as the wax hardens.