Tips for a DIY Manicure At-Home
It can be frustrating to do a manicure at home, but with these tips for a DIY manicure at-home, you will get to enjoy polished nails that last!
As a homemaker, I enjoy having my nails looking nice and polished. I don’t have the time to go and get my nails done every couple of weeks, so I give myself a DIY manicure at-home.
I spent some time years ago as a licensed nail tech (yes, that is actually a “thing”) and there are several important things to remember when doing a manicure:
- use good products
- have clean nails
- protect your manicure
Products for a DIY At-Home Manicure
You don’t need much for a great manicure, but there are a few things that are a must. You must use a cuticle stick to push your cuticles back. This will extend the wear of your manicure and help to keep your polish line neat and tidy.
You need a buffing block to gently buff the surface of your nail. This is a gentle process, not an abrasive one, that prepares the nail to grip and hold the polish.
Rubbing alcohol or nail polish remover is a great next step to remove any dirt, debris, or oil from the nail bed prior to polishing. A quick swipe with an alcohol pad will ensure that your nail polish stays on as long as possible.
Lastly, you need good nail polishes that offer ease of use and staying power once applied. I have several brands that I like, all for different reasons, and I will share them with you.
Once your manicure is set, make sure you protect it by using gloves or a scrub brush to wash dishes. The less time they are in water, the better. You can check out my favorite scrub brushes here.

What are the Best Nail Polishes?
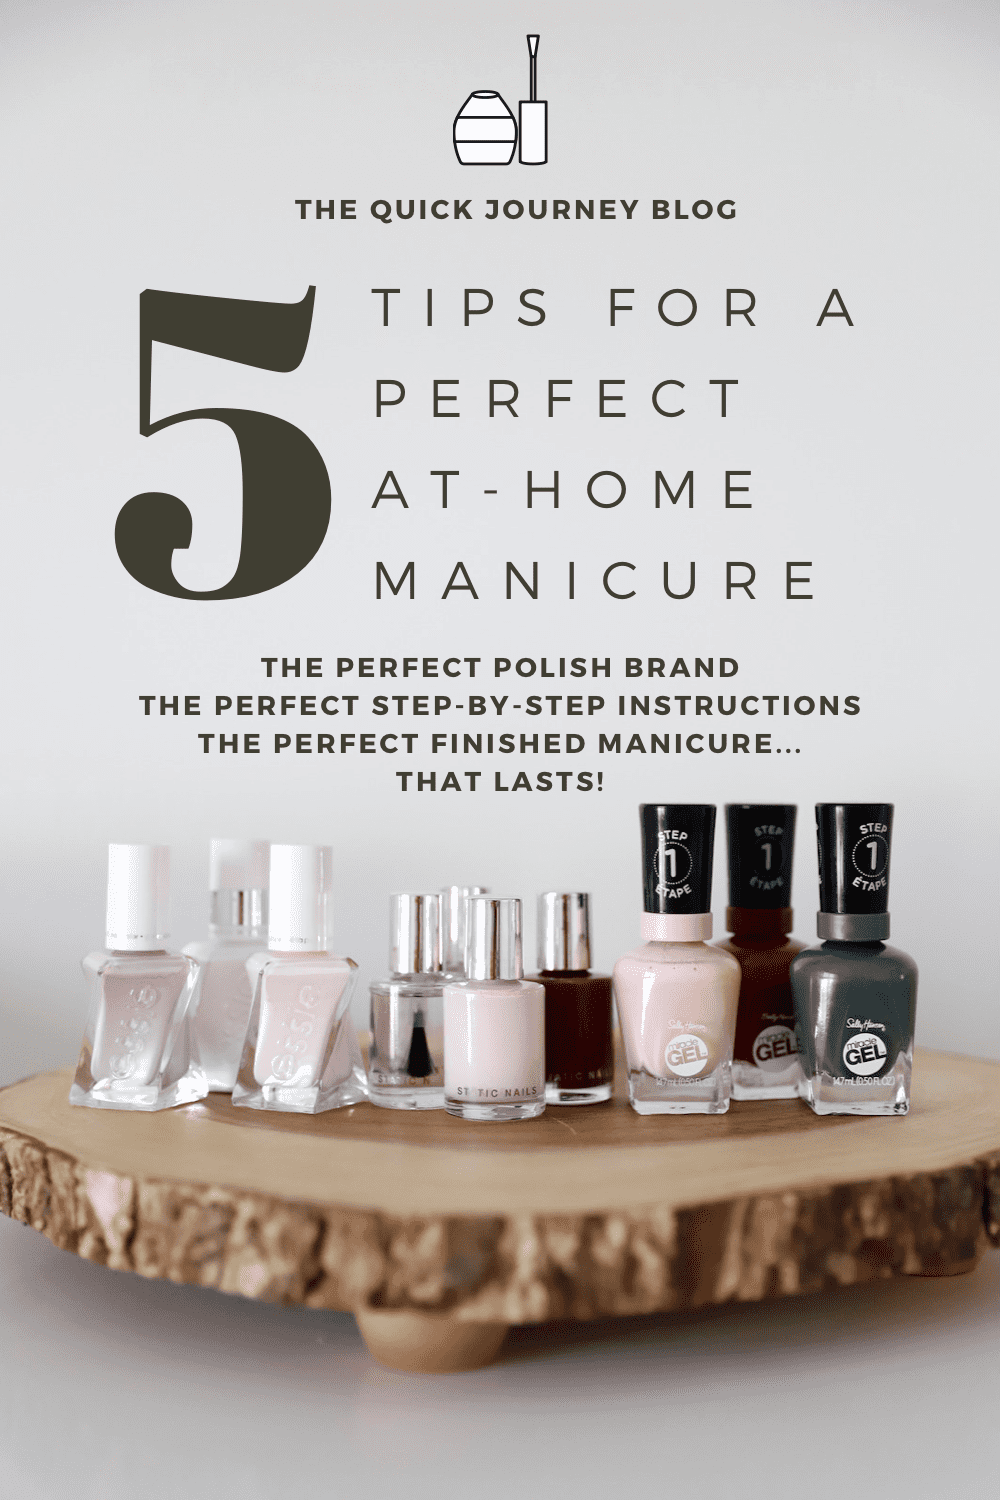
There are many nail polishes to choose from. I have three brands that I use and love for different reasons. All are gel polishes, which improves the holding power of the polish.
- Budget Polish- Sally Hansen Miracle Gel polish is a great budget option. I haven’t tried the base and top coat, but I do use some of the colored gel polishes when doing an at-home manicure. This polish has good pigmentation and I enjoy the good price point. It is also easily available at most stores.
- High-End Polish- Essie Gel Couture polish is a great choice for DIY manicures. This brand is a bit more expensive, but it provides a manicure that lasts. The polish glides on and the color options are endless. I love the Essie Gel Couture top coat.
- Non-Toxic Polish- Static Liquid Glass Lacquer is the best non-toxic polish I’ve found. The base primer has “ridge filling” technology to ensure a smooth manicure. This brand is quite pricey, but I really like the finished product and that it’s less toxic than most brands.
Steps for a DIY At-Home Manicure
- First, push back cuticles
- Next, gently buff nails
- After that, wipe nails clean with alcohol or polish remover
- Begin by applying a good base coat or primer
- Place two layers of color on nails
- Finish with a top coat
- Protect nails from water
Tips for making your manicure last
Avoid excessive water exposure. Gel polish has a beautiful, hard finish that lasts better than most polishes. Still, if you have your hands drowning in water all of the time, your polish will lift. Instead of washing dishes with your hands, give them a break and use a brush. You could also purchase a pair of rubber gloves.
Allow polish to cure. Allowing your nail polish to fully dry improves the chances that your manicure will last. Knicks and chips in a layer of polish increases the chances that lifting will occur.
Remove Excess. If you aren’t steady with your polishing, simply clean off the excess polish with remover. You can use a q-tip dipped in remover to gently rub off the polish on your skin. Or, you can get a small makeup brush and use it in the same way. I prefer a thin bristled makeup brush to do this step.
Start with your weak hand. An easy tip for creating a neater finish is to begin your manicure by polishing your dominant hand first. Once you feel the ease of polishing with your dominant hand, it tends to make using your weak hand more difficult. If you polish with your less dominant hand first for each step, the finished product is usually better.
Manicure Video Tutorial
Pin for later

Other Posts You’ll Love
Tips for being an Efficient Homemaker
Top Kitchen Essentials for Homemakers
Join our community!
Every Friday, thousands of sweet friends get a beautiful newsletter sent to their inbox. If you’d like to join our community, click here, and instantly get a Month-by-Month Cleaning Calendar.


What type of a buffer do you use? Whenever I try to buy one I never know which one to choose because there are so many different types for different uses!
I buy one that is low grit. I don’t want it to “rough” up my nail and damage it. I just want it to eliminate the oil. I’ve had this one for about a decade. lol
Hi Liz. Quick question which I hope you can answer. I’ve used Essie polish for years. Eternal Optimist is my fav. Usually just 2 coats of polish. My polish usually lasts 1 week perfectly. This weekend I did the whole process, including top and base coat, and the next day at least half of my polish just peeled off. I wondered if my polish is getting a bit old – I’ve added nail polish remover quite a few times to thin it down a bit, as it’s quite a few years old and thick. Could that be the reason it peeled?…. Thanks
It definitely could be! If my coats are too thick, it sometimes causes the polish to lift on the edges.
This was great! I could definitely use some help when it comes to at home mani’s.
I am glad you found it helpful. 🙂 Thanks for stopping by!
I love having manicures. Like you, I don’t always have time to get my nails done at the salon. Great tips for a good manicure at home.
I am so happy this was helpful. Time is limited, that’s for sure. 🙂